Folders in, a room out.
Five steps from a folder of images to a gallery someone can walk through at a permanent URL. About five minutes of your attention, plus however long your images take to upload.
Steps one to three need no account or registration — you can build a complete gallery and walk through it before deciding whether to host it with us. The fork comes at step four.
What you need
- Your images as JPEG, PNG, or WebP, sorted into folders.
- A desktop browser is advised. The builder reads whole folders, which phones do not do well.
- For publishing only: an account. Hosting includes 2 GB of storage on Artist and 10 GB on Studio, with unlimited galleries on both.
Watch it done
The whole path in one pass, from folders on a desktop to a gallery at a public URL. The steps below are the same route in writing, if you would rather read it.
Sort your images into folders
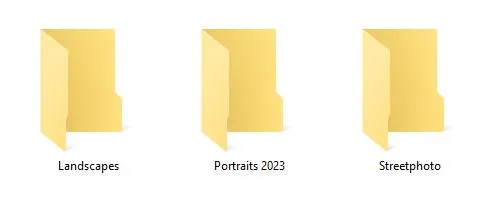
One folder becomes one room. The folder name becomes the room’s name on the wall, so name them the way you want them read:
✔️ Early work
❌ IMG_2019_final_v3
Use JPEG, PNG, or WebP. Start with one folder of eight to twelve images — you can always rebuild with more once you have seen how a room fills up. Anything beyond 1200–1600 px on the longest side will not look any better on the wall, and will slow the gallery down noticeably.
Build it in the browser
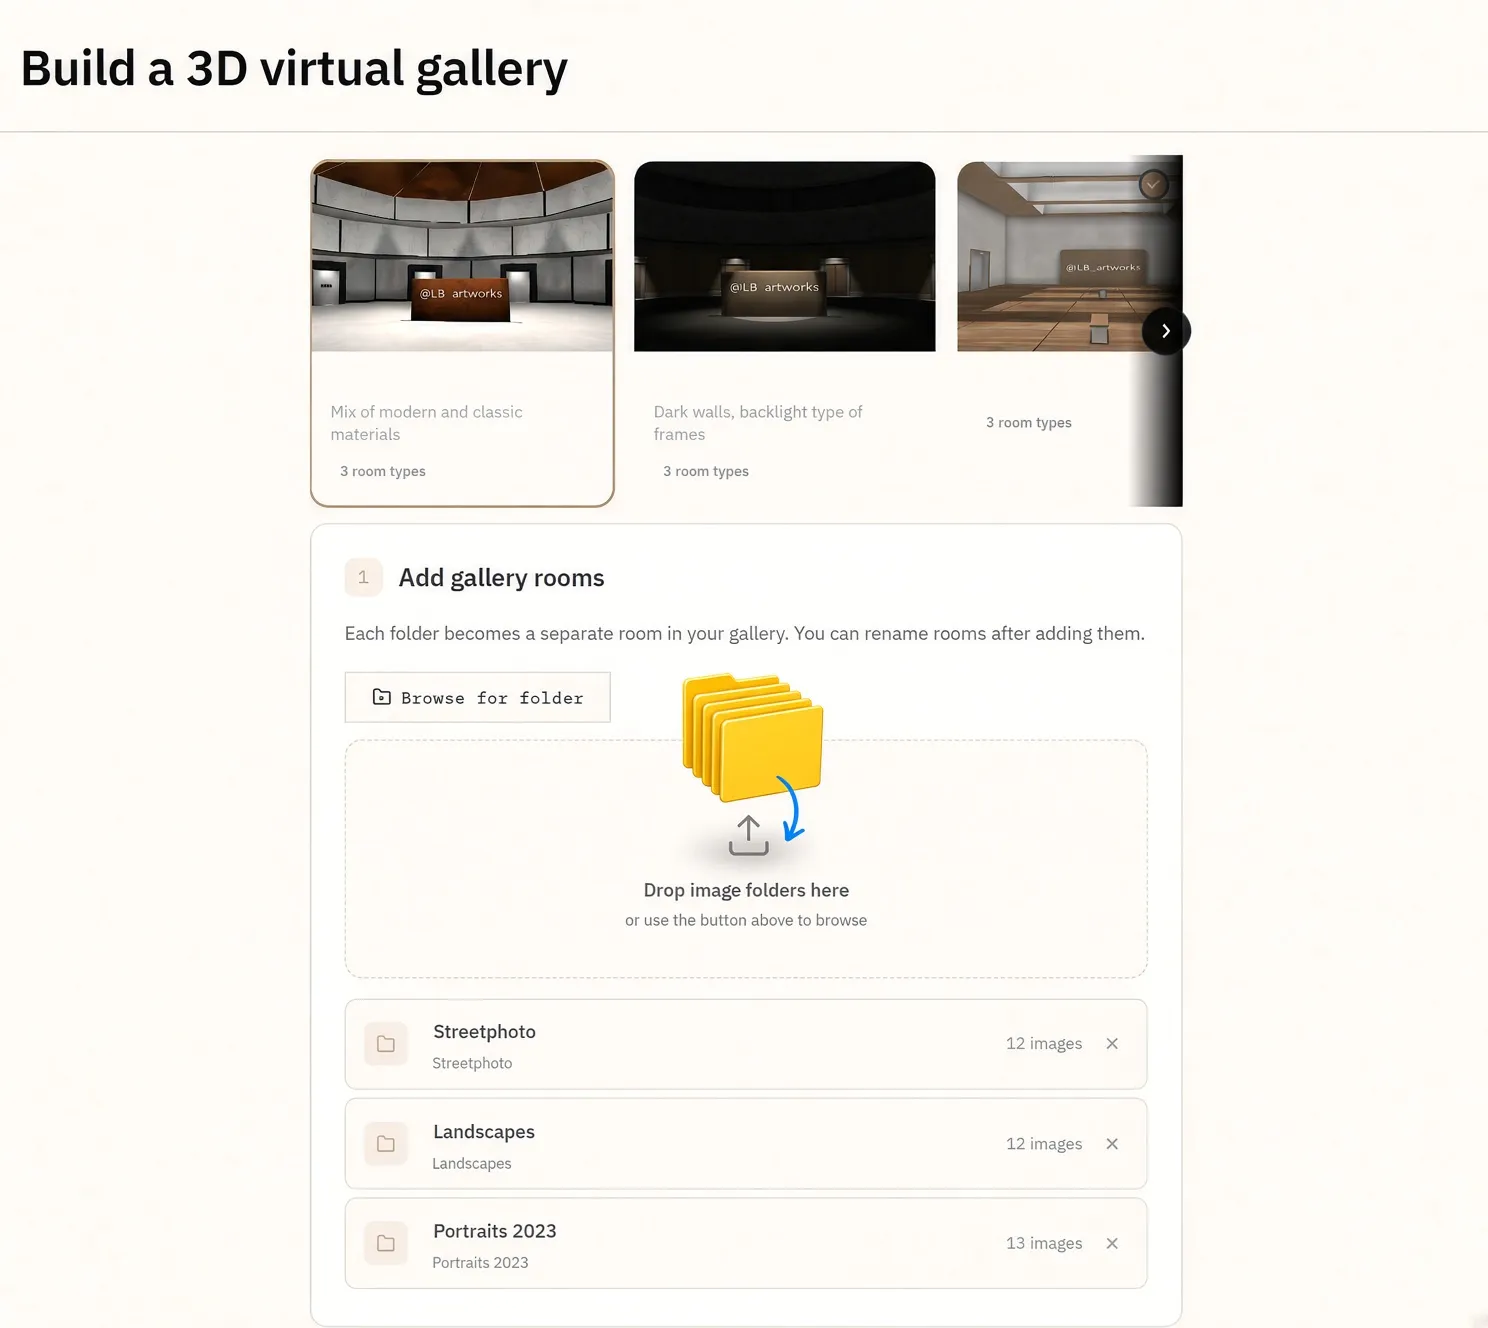
Open the builder and drop the folders in. It lays out the rooms, hangs the work, and connects the doors. No account, no upload — this runs entirely in your browser, on your machine.
Walk through it, then adjust
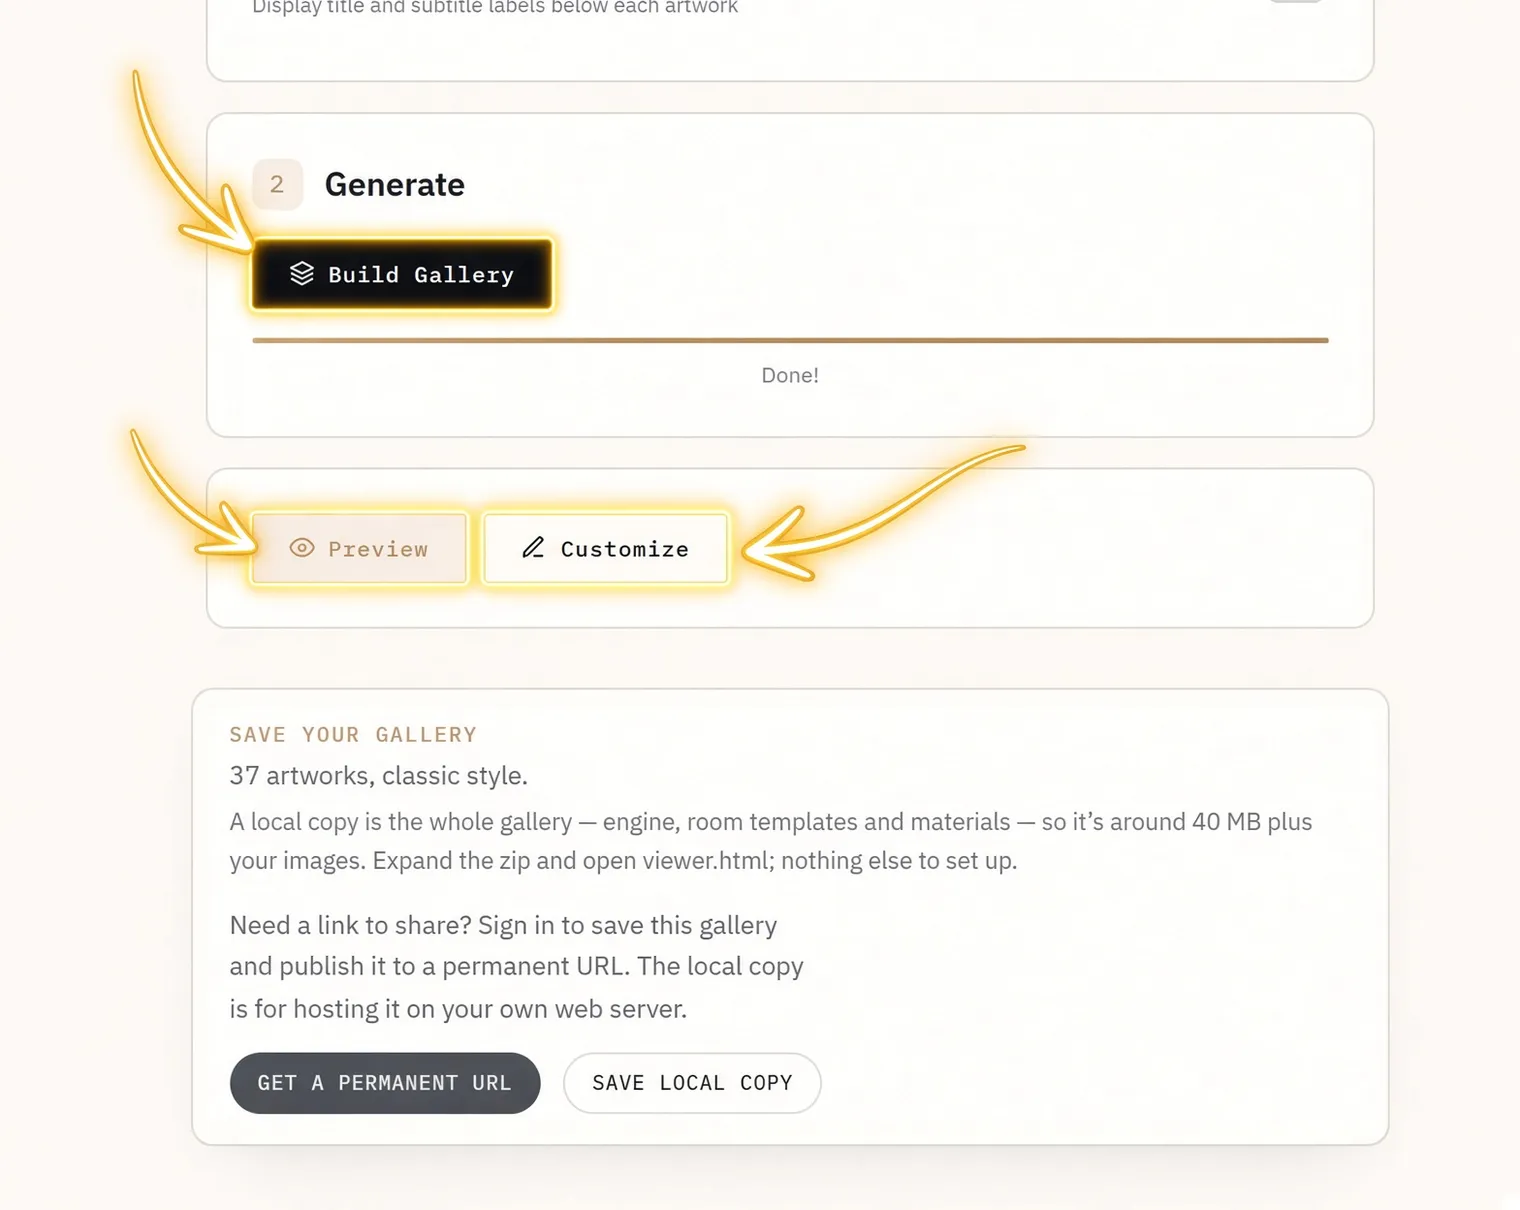
Click Build Gallery and the rooms are laid out from your style choice, the number of artworks, and the size of the rooms available.
Preview drops you inside the gallery. Walk it before you commit to anything — a layout reads very differently at eye level than it does as a list of filenames.
Customize is where you change room styles and set how big each piece hangs: S, M, and L are 60, 120, and 180 cm on the longest edge, with a slider up to 250 cm. Aspect ratio always follows the source image, so nothing gets stretched.
Gallery settings holds the exhibition title and description, and an optional MP3 to play in the background.
Save it — two endings
This is the fork in the road. Either direction works.
A ZIP holding the whole gallery — engine, room templates, materials — so it
is around 40 MB plus your images. Expand it, place it on a web server you
control, open viewer.html, and it runs. Free forever, yours to host
anywhere.
Once you are signed in — this one needs a subscription — the gallery uploads to your account as a private draft. Your images are processed there, and nothing is public yet.
A draft needs an exhibition title in Gallery settings: it becomes the
your-gallery part of the address. You can rename the gallery later, but the
address stays.
When you sign up for the first time you pick your public address — lowercase
letters, numbers and hyphens, up to 32 characters. It becomes the you in every
gallery URL you publish from then on, so choose it like a domain name. It is
permanent.
Publish
Your draft lands in the dashboard. Large galleries take a moment to process after the upload finishes, and Publish turns on once that is done. Preview it once more, then publish.
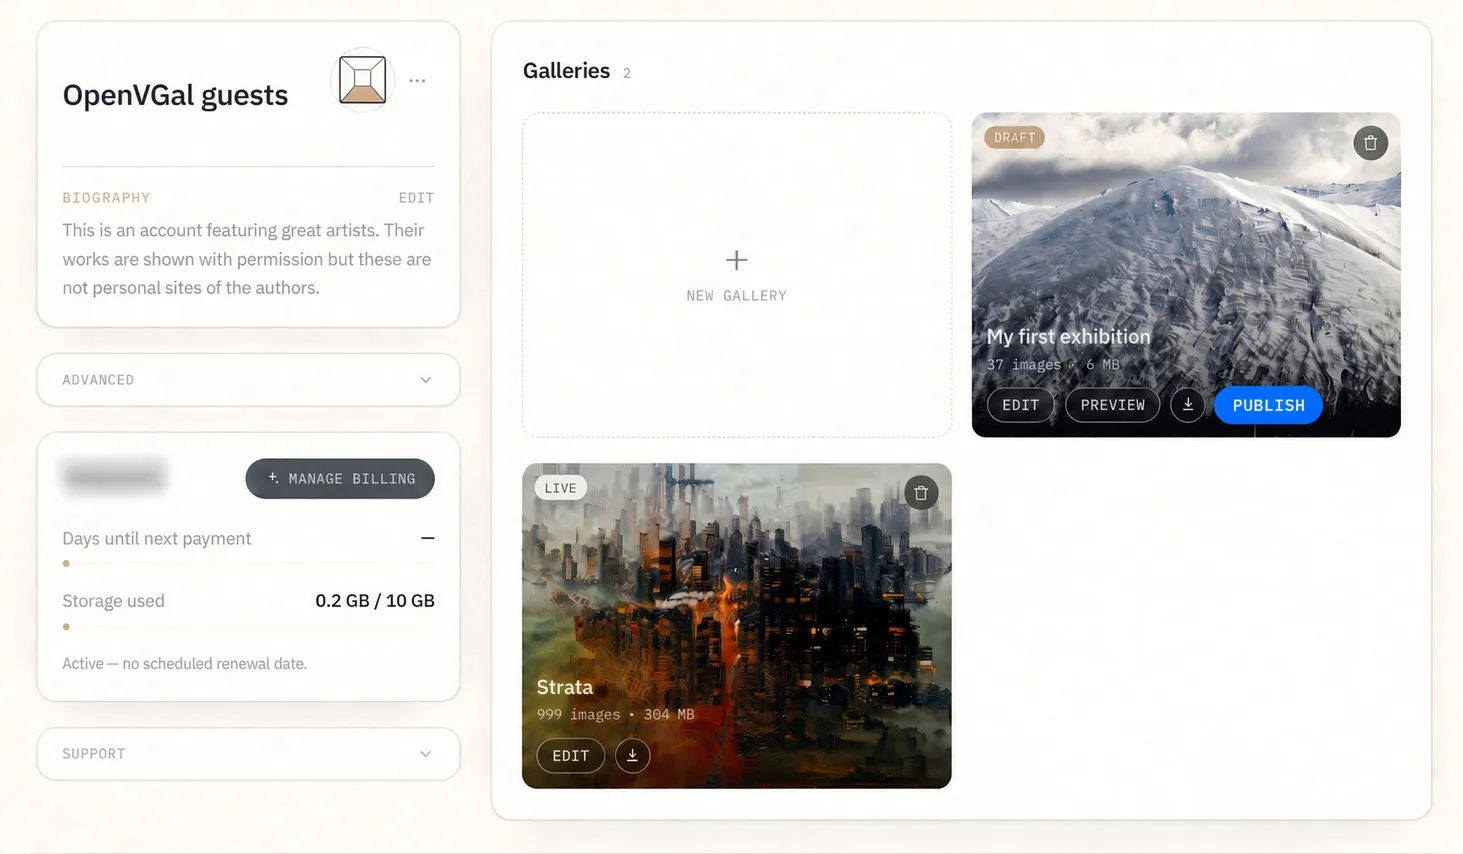
It goes live immediately at
openvgal.com/view/you/your-gallery
On the Studio plan it publishes on your own subdomain instead —
you.openvgal.com/your-gallery.
Publishing is repeatable. Rebuild, save over the draft, publish again — the URL stays put.
Getting around inside
Worth knowing before you preview — and worth telling visitors who have never walked a gallery before.
- Keyboard
- Arrow keys — or WASD on a desktop — move you. The mouse looks around.
- Touch
- One finger dragged forward walks you on. Two fingers turn you.
- Doors
- Click one to walk into the next room.
- Artwork
- Click a piece to step up to it and read its title.
The navigation guide has the rest: the overlay panel, the self-running tour, and links that open one room directly.
Next
Preparing artwork covers formats, export size and naming, customizing a space covers everything you can change after the build, and self-hosting covers running the gallery on a server of your own. The FAQ covers ownership, billing and cancellation, pricing has the numbers, and the open-source repository documents the engine itself.
Open the builder